Atari Punk Console

This project got its start when I was bored one day, then remembered I had a 555 timer that I had never used before. I decided to wire it up, and before too long I had a simple metronome going. I got inspired and ordered a batch of 50 (!) 555s from AliExpress – for $2, how could I not?
While waiting for them to come in, I started looking for something to do with them – and came across the Atari Punk Console. I remembered I also had an LM386 I hadn’t used, so decided to throw it into the works as well. I managed to get something breadboarded together that actually made sound, and in a fit of ambition declared I would make a permanent version.
This is where I am really well out of my depth, as opposed to merely inexperienced. But I did the right thing by using a relatively large prototype board, and after a few weekends (plus some time out for COVID) I had something that…made noise! 🤣
For sound, I used an old bluetooth speaker; it had an AUX input, so I grabbed a headphone cable I wasn’t using to hook it up. For reasons I don’t really understand I had to hook up the speaker wires differently than I thought I would: Instead of the red black wire being hooked up to the LM386 output, I had to hook up the shield wire from the cable to the 2nd 555 output (pin 3) in order to get any sound. This worked fine, and I was able to use the speaker’s built-in volume controls to adjust the volume.
For power, I used a USB cable from an old lamp. This worked a treat.
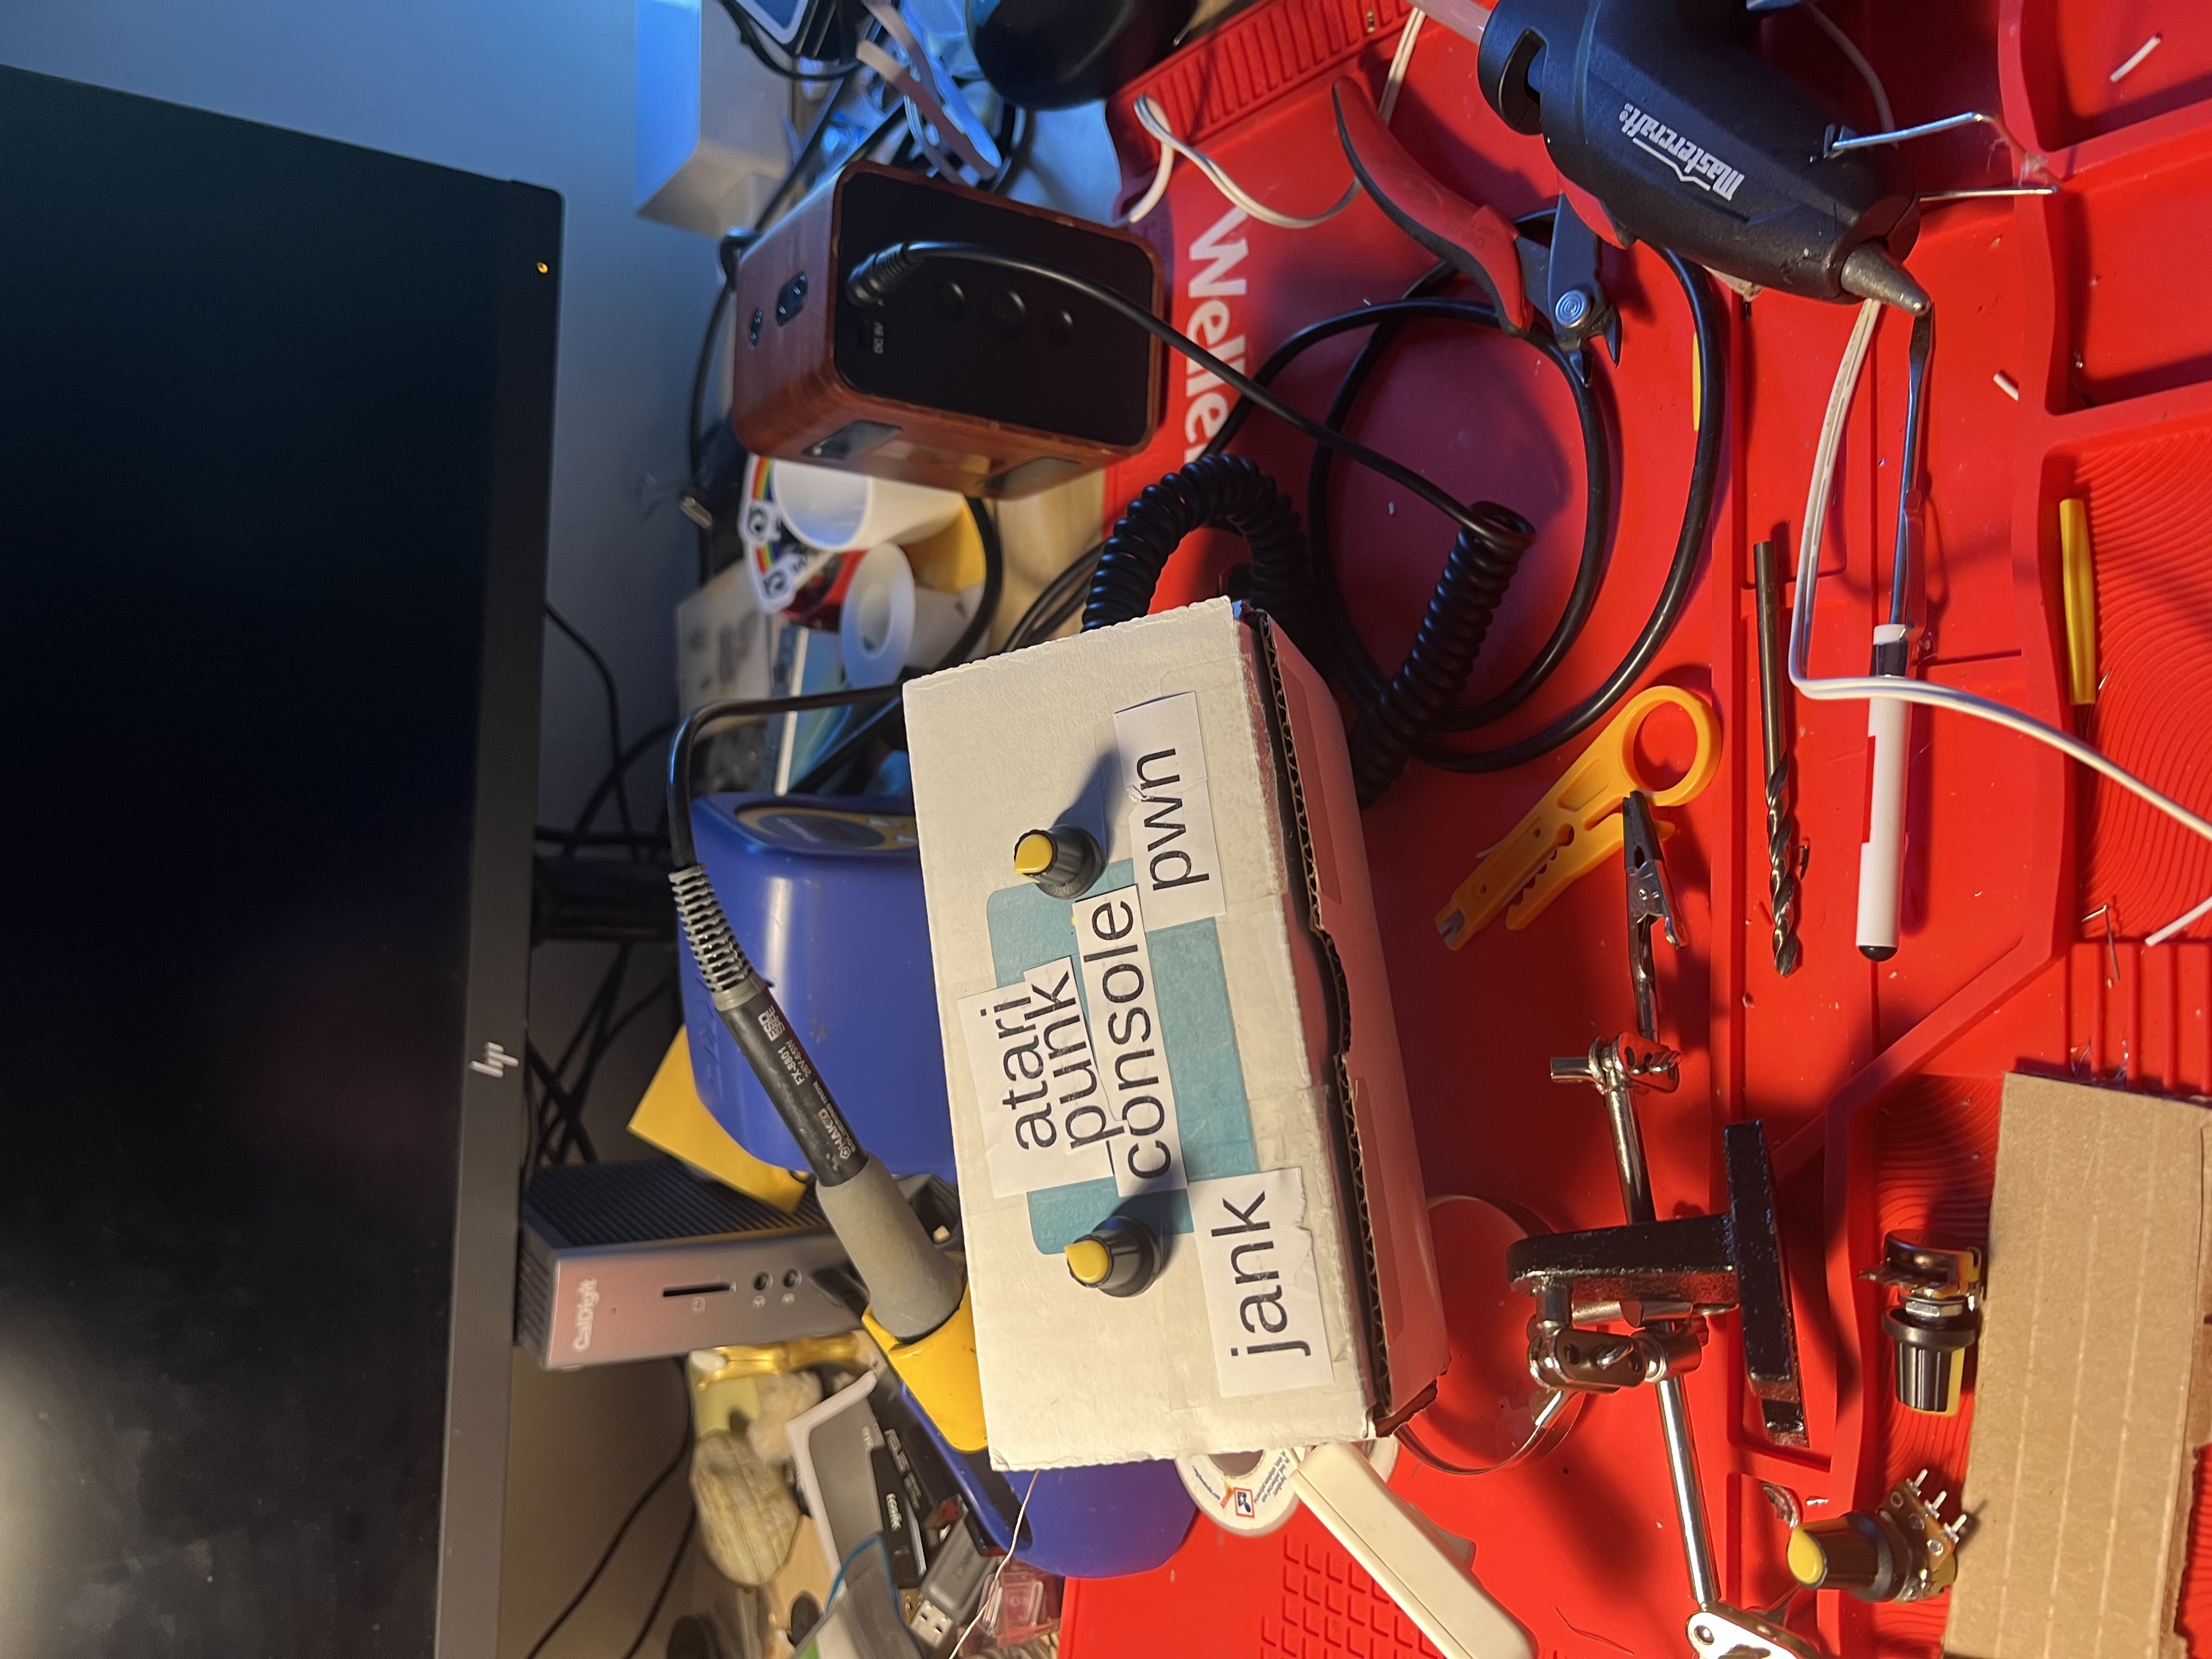
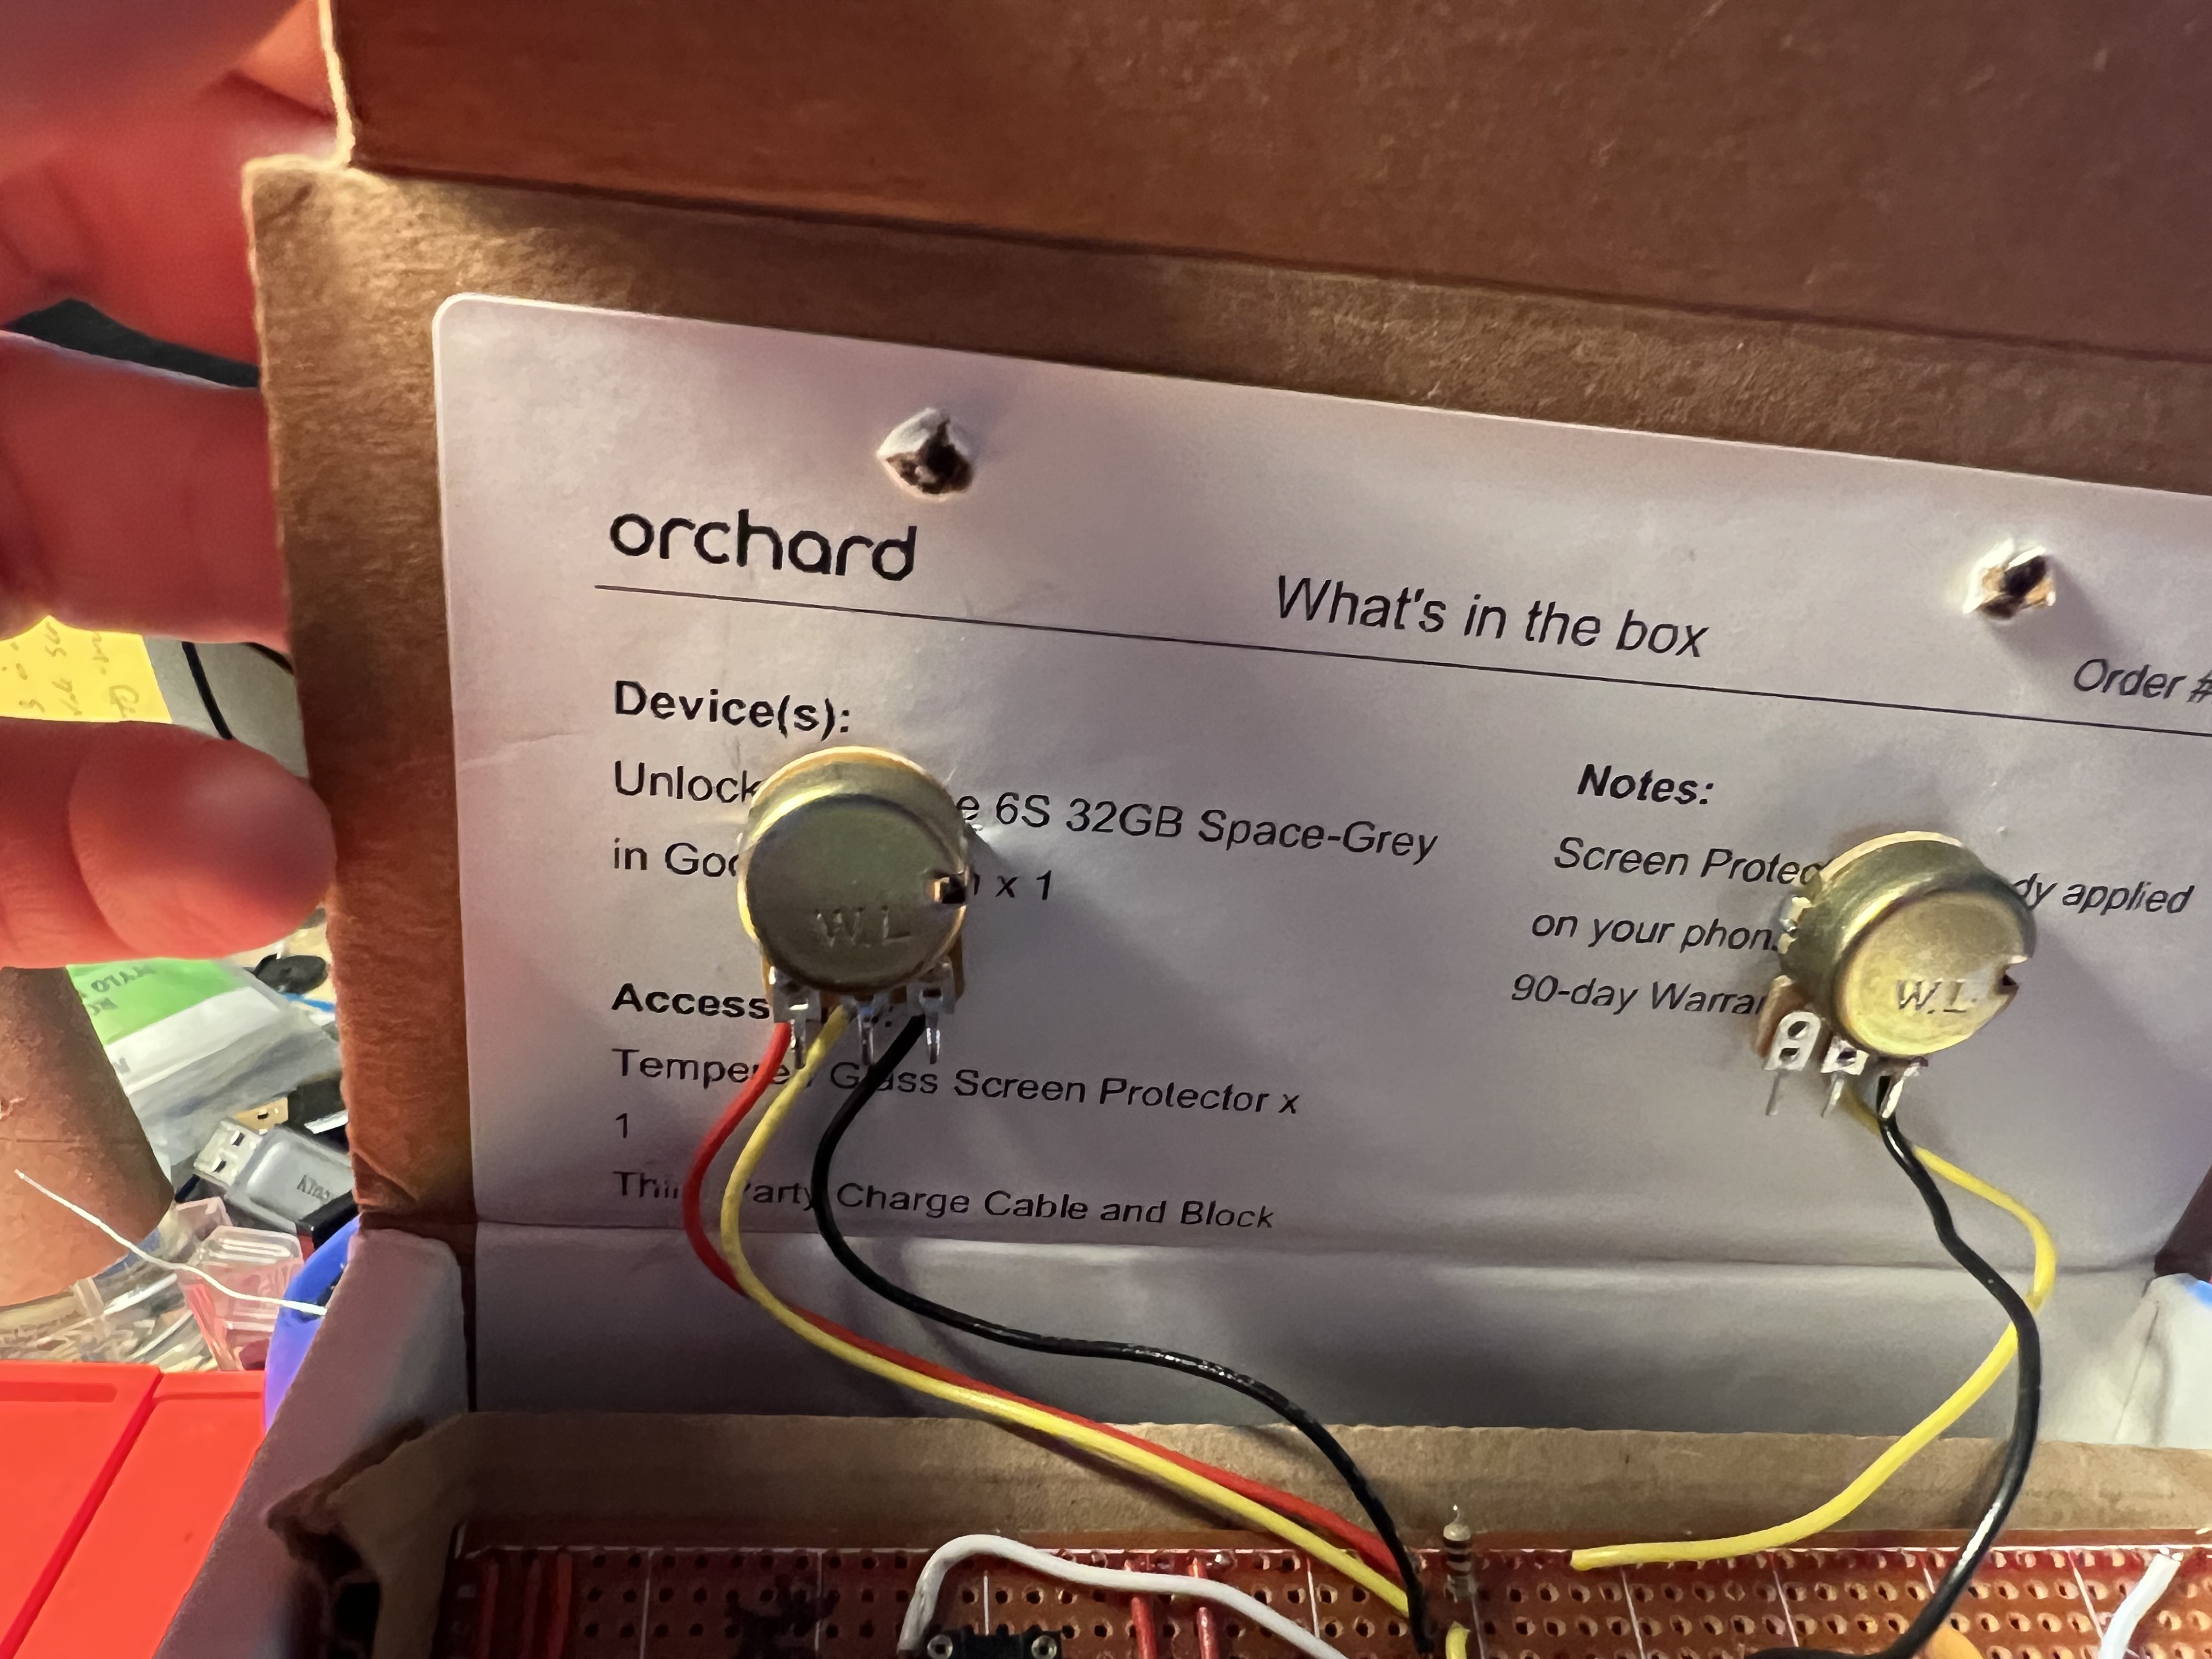
And for an enclosure…well, you don’t put work like this in just any old project box. No sir, the box you need for this is a carboard shipping box from Orchard (well recommended for used phones, BTW). I was able to mount the volume cables nicely:

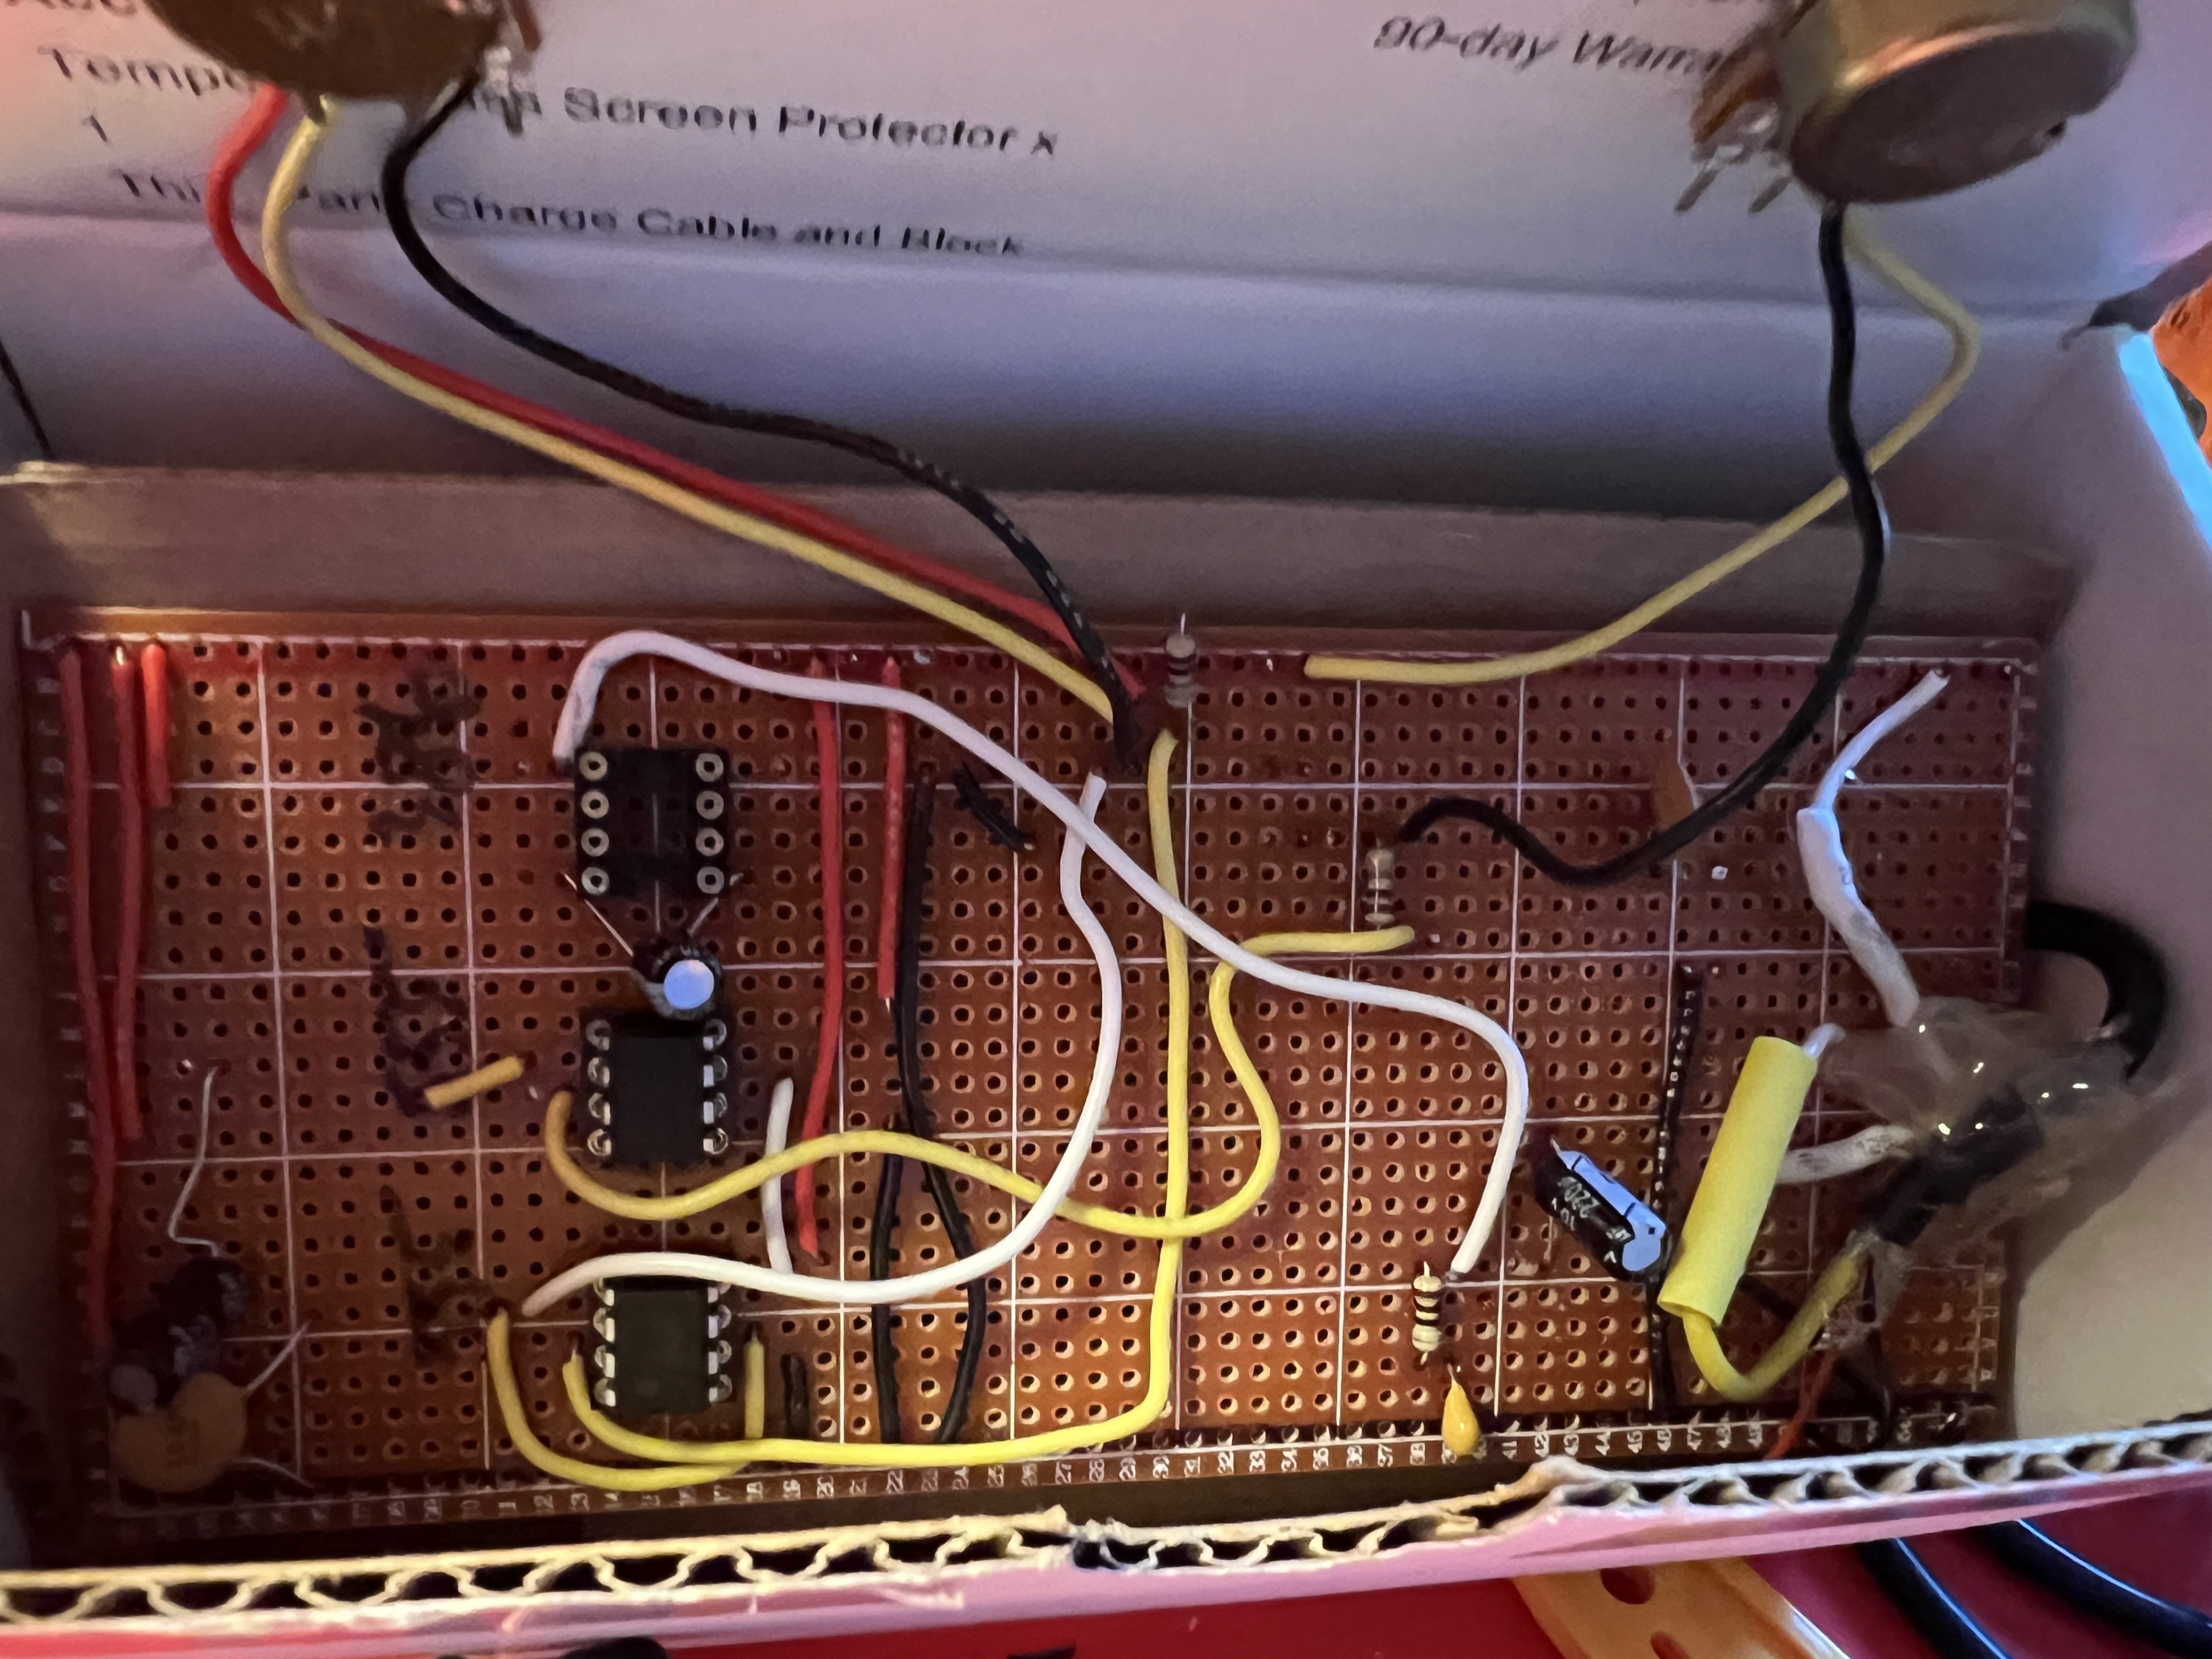
There was lots of room inside the box to show off the proto board, complete with hot glue holding power & audio cable in place. And since I wasn’t using the LM386, I decided to remove it and save it for another day:

The final touch were the labels for the top of the box. My son agreed
that one button should be labelled PWN – then had the brilliant
insight that the opposite of PWN was clearly JANK. One quick trip
to the laser printer later, e eccolo:

Overall it was a lot of fun. Some lessons:
-
This protoboard could have been organized a lot better. The squares practically scream out to be used to isolate different components. If I were redoing this, I’d avoid putting all 3 chips in a row – it looks nice, but I suspect it would be easier to work with if I’d laid them out separately.
-
The ground and VCC bus approach worked well.
-
The second pot (the one labelled
pwn) was scratchy even after replacing it and re-soldering the wires to the board. I’m not sure what went on there. -
And I really don’t know what went wrong with the LM386 amplifer – but the speaker made that a moot point.
-
I still really like cardboard as a building material; it’s quick to find, easy to work with, and the janky look just tickles me.
The next version I want to make is the version with an 8-step sequencer. This really makes some neat sounds, and I would never have thought of using a decade counter that way. Excelsior!